Showing posts with label Decorating. Show all posts

Monday, September 3, 2018

Leaf Garland - Free Pattern

Looking for a fun little project
for Fall.
How about some DIY leaf garland?
I am over at Thermoweb
showing how to make this fun little 
décor item.


To make the garland, 
you will need just a few supplies.
You can find the whole list HERE.


I used some of my favorite 
Heatn'Bond products.
are my newest favorite.
If you paper piece, these 
will make your life sooooo
much easier or if you decide to 
make this leaf garland.


I even painted myself a 
new sign to go out front.
The garland only stayed on it for 
a bit, then it found it's home 
on our living room shelf.

I can't wait to show 
you the Welcome sign 
I painted for winter.
I love it even more than 
this one.

Go check out the Leaf Garland Tutorial Here.


Pin It Now!

Thursday, November 12, 2015

Blizzard Warning

Do you ever make craft promises to yourself?
No, nothing like I won't buy yarn or fabric for a
month and then have a relapse.
I mean from an artistic point.
Several years back, after my grandmother passed
away, she left many crocheted granny squares in a bag.
After many hours of putting them together,
I made a promise to myself that well....
I would never make anything with any granny squares.
I didn't like the whole idea of having
 to crochet or sew them together. 
It is a good thing that we are all able to grow and
change our minds.
The change of mind came from a pattern.


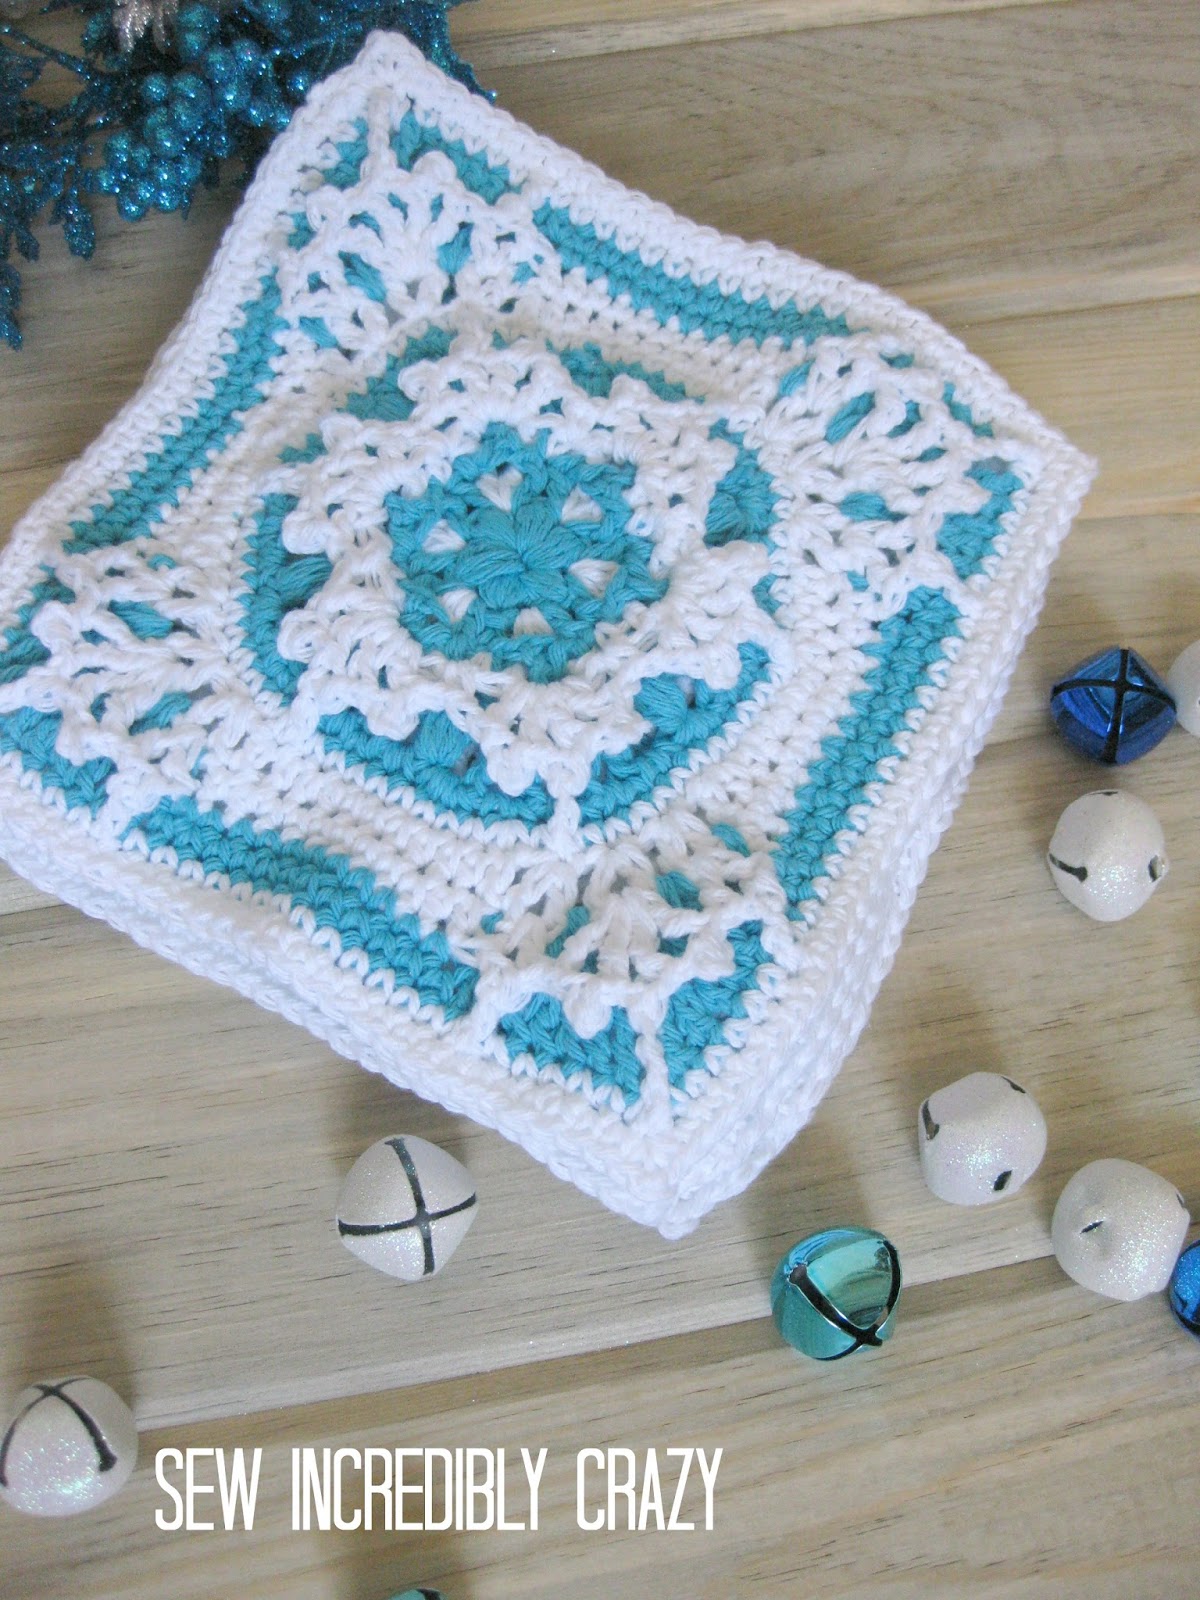
It is called Blizzard Warning. 
It is created by Every Trick on the Hook.
You can find the pattern for free
right now on Ravelry.
You can either make a hexagon
or as a granny square.
  I chose the later.
Although, a hexagon could be in the near future.
 
 
I made a single crocheted seam in the center
connecting the squares. 


I have big plans for
this lovely, so
you'll have to check in later.
I could be snowed in.


Pin It Now!

Wednesday, February 4, 2015

What Glitters?


Did you ever wonder
what would happen if
you let a teenager loose
with Mod Podge
and some glitter?


Aren't they so much fun?
I can always use a little glitter
in my life.
 
I bought some wood letters,
spray painted them,
and gave my teen the go ahead.
With a coat of Mod Podge,
and the sparkly stuff,
she created these.


I love the bling. 
"SEW" Pretty
I guess being a little daring
paid off.


Pin It Now!

Monday, October 13, 2014

A Little Bit of Everything


I have been busily putting my
sewing space all together.
It is going to be a work in
progress to find all
the little things that speak to me.
(It will probably take years)
I have always wanted a space that
Says "Me". 
Here is a little chunk
of what I have so far.


I have loved seeing the cute antique ladders
that everyone has sporting their quilts.
Well, this ladder has a lot of
meaning. It is the kids bunk-bed ladder.
It was just sitting around,
collecting dust in the shed,
when I had the idea to use it.
We drilled holes in the front of the ladder
at the top to attach it into a stud.
They are counter sunk holes.
 
 
After screwing it to the wall,
I used wooden button to cover
the screw heads. 
I was lucky enough to hit
a stud with both sides.
It is probably a good thing,
since a certain someone
thinks it is a great ladder up the wall to
Nowhere.
 
My husband refinished this
cute little nightstand
for me. 
I like to store my cross-stitch supplies
in there and it
keeps me from tripping on
the ladder.
(Can you tell, I probably did it more than once)
 
I love the black hardware against the
willow stain.   
Here is the picture of part of the
set before he refinished it.
 
I actually picked it up for nothing.
(Got to love that)
We spent next to
nothing refinishing it.
Just the sandpaper, stain,
poly, and paint for the pulls.
He has two of the three pieces
redone, but I'll
show you the other a bit later.
 
 
And all those lovely tomatoes,
I again was working on.
This time with a little
 Basil-Garlic Tomato Sauce.
 
 
You can find the recipe Here.
It smelled absolutely yummy.
I am hoping it tastes just as
good.
 
 
I have also been doing a bit
of sewing for the Black Cat Crossing Hop
over at Sew We Quilt
coming up reallllly soon. 


Pin It Now!

Wednesday, February 5, 2014

Lace Floor

Every great project needs a supervisor, right?
Well, here was mine while I worked away.


Let's just say this little cutie had a hard
time staying out
while I was working in the room.
I am surprised that we didn't have
painted little kitten tracks
throughout the room.

This is what I started with. 


I had some great helpers
that assisted in the carpet rolling and removal. 
After, I cleaned up all the tools
my hubby rented a box sander and sanded the whole
floor.  It was quite messy and I stuck a towel under the door to prevent
any dust from entering the rest of the house.


After the sanding, I did a lot of dust clean up.
Then,  I used TSP and followed the directions
and cleaned all of the floor.
Which, then brings us to painting. 
We had a pine floor.
 I know a lot of you would scream
to here that we are going to
paint the floor. 

Yes, I said paint.


I used Valspar bare wood primer.
During all this, I also painted the walls a lovely
 grey and fluorescent lime.


I did two coats of the primer on the floor. 
Next, bring on the color.
Once again, Valspar. 
This time it was the floor and porch paint.
Don't you just love a fresh can of paint.


I put on two coats of the floor paint.
After that was completely dry,
I picked up these pretty
little stencils at my
local craft store.

http://www.michaels.com/Cathedral-Lace-Laser-Cut-Stencils/cp0551,default,pd.html

I saw that you can pick them
up at several retailers.

And then got busy stenciling
I decided to use grey floor paint
for the stenciling color.
I measured around the room
and found the exact center. 
I used chalk to mark the floor.
(Works great and you don't have to worry about marks)
I started in the middle of one side.
And then I worked to corner


Laying blue painters tape made it
perfect.  I could set my stencil against it
and I didn't have to worry about making the
pretty lace edge crooked.
You can also use the floor boards as
a guide, if they are relatively straight.


I then added the pretty lace doilies
scattered throughout
the floor.
No, measuring here. 
Just fun laying them down.


I could not have been happier with how it turned out.
It is now my favorite room in the
house.
So, bright and cheery.
No, polyurethane to add to it either.
Just sit back and
enjoy!!
It was quite cost effect too, we
spent a little under $100 for a
brand new floor.  Way cheaper than carpet
and so much prettier!!


And I had to add a little
quiltiness.   The room actually
matches my Hexie quilt I did a few months back.


Pin It Now!

Monday, January 13, 2014

Vanity Desk


I often have hair brained ideas. 
Some of them my husband rolls his eyes
and shakes his head at
and others he's the one encouraging my madness. 
This one was a little of both. 
One of the kiddos was in desperate need
of a little room makeover. 
It was brown and I really
couldn't stand looking at it much longer and neither
could she.
 
 It has been a
a long process of painting different pieces of furniture.
Ripping out carpet and painting a floor,
which I will show off later. 
Now, I thought I would show off
her vanity/computer desk.
 

We bought some premade cabinets at the local home improvement store. 
My hubby and I spent the whole day priming and
painting the different components of her new desk. 


Yes, we painted oak cabinets. 
I think my husband shed a tear as the paint was being brushed on.
The pink is Valspar Frosty Berry and
we did the old-fashioned brush it all on.
I wanted it to look very girlie so we added
furniture legs to the front. 
They are mostly just for show, but
sometimes it is all about the details.


Every vanity needs a mirror! 
Someone gave us the mirror but it was gold. 
It now wears Frosty Berry oh so well.


It turned out even better than I had planned. 
I can't wait to show you the whole floor finished.


The lovely place I link to
Pin It Now!

Thursday, August 8, 2013

My Sewing Spot

 Since I can't show you my Hexie project, I thought that I would show you how I have been spending my non-sewing hours.  I decided to do a little painting.  I have noticed that since I have began quilting a little over a year ago that my taste in decorating has changed.  No more tan for us.  I have finished the master bathroom and now my sewing space.

 
I painted it with a light shade of green: Valspar Lily Pond.  And then on to decorating...


My dad again came to the rescue and built me some shelves.  I spray painted them with Valspar Exotic Sea.  Love the color!!!  So Nice and Bright!!  The shelves make a great spot to store some of my fabric.

 
I picked up this great rod and the buckets at IKEA.  We happened to finally make it to one and I can say it was a huge inspiration of great room and storage ideas.  Oh, what to put in them.
 

I also hung a tension line (also IKEA) across the top of my wall.  I added a few of my Aurifil BOM blocks but later will be adding some finished mini quilts.  Maybe with the same fabrics.


The pink shelf is actually a chalkboard.  Again, my dad cut it out and I went to painting.  I used Valspar Chalkboard paint for the black background (which works great) and the pink in Valspar Pink Burst Spray paint.  I framed some fun little sewing wall stickers that if I get tired of can quickly be changed.


   I wanted a super fun space that I loved to go and create at.  Now, I am off to get a weee bit more organized. 


You don't need a lot of space to call your own.  I don't have a whole room to set up a sewing space, so a wall in the house will have to do.  And I know I will enjoy sitting down in my little corner of the house.


Pin It Now!